Hello,
what is your locality?

See all our News

Back
Gard & Rock News
Follow our news, our latest products, events...
How to install a shade sail in your garden: a simple and effective guide
19/03/2026

How to install a shade sail in your garden: a simple and effective guide

Installing a shade sail in your garden is a great way to create a stylish, modern shaded area that feels lighter and more flexible than a traditional umbrella. However, for a shade sail to be truly effective, it must be properly positioned, correctly tensioned, and fixed to suitable supports. This is where most mistakes happen: poorly placed fixing points, incorrect tension, or inadequate supports. For a clean and durable installation, using a Gard&Rock telescopic shade sail pole, combined with the right accessories (cord, carabiner, wall fixing), makes the process much easier. In this guide, you’ll learn how to install a shade sail, how to position fixing points correctly, and how to achieve optimal tension.

Key takeaways for installing a shade sail

  • A shade sail should be properly tensioned, without over-tightening
  • Fixing points should be placed around 10 cm (4 inches) from each corner, in their natural extension
  • Cords help adjust tension and compensate small gaps
  • Gard&Rock telescopic poles are suitable for sails up to 12 m² (129 sq ft), and up to 20 m² (215 sq ft) for shade nets
  • Breathable shade sails improve air circulation and comfort
  • In case of strong wind or bad weather, it is recommended to remove the sail

 Rectangular shade sail creating shade between a veranda and telescopic shade sail poles

Choosing the right shade sail

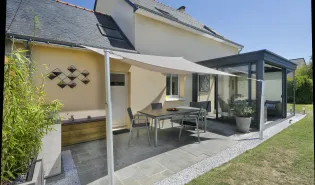
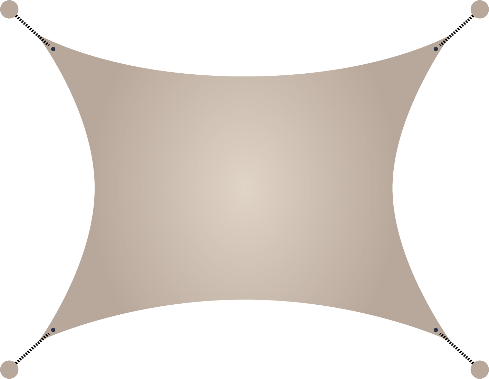
Not all shade sails perform the same.

Breathable shade sails (micro-perforated fabrics) are particularly well suited for outdoor use:

  • improved air circulation
  • better comfort under the sail
  • reduced heat build-up

This does not replace proper precautions.

As with any outdoor textile product, it is recommended to remove the sail in case of strong wind or bad weather.

If your goal is to cover a large area while limiting wind resistance, shade nets can be a good alternative.

Explore our Austral shade sails

Fixing options for a shade sail

A shade sail must always be attached to solid fixing points.

Depending on your layout, you have two main options:

  • using poles only
  • combining wall fixings and poles


Telescopic shade sail pole

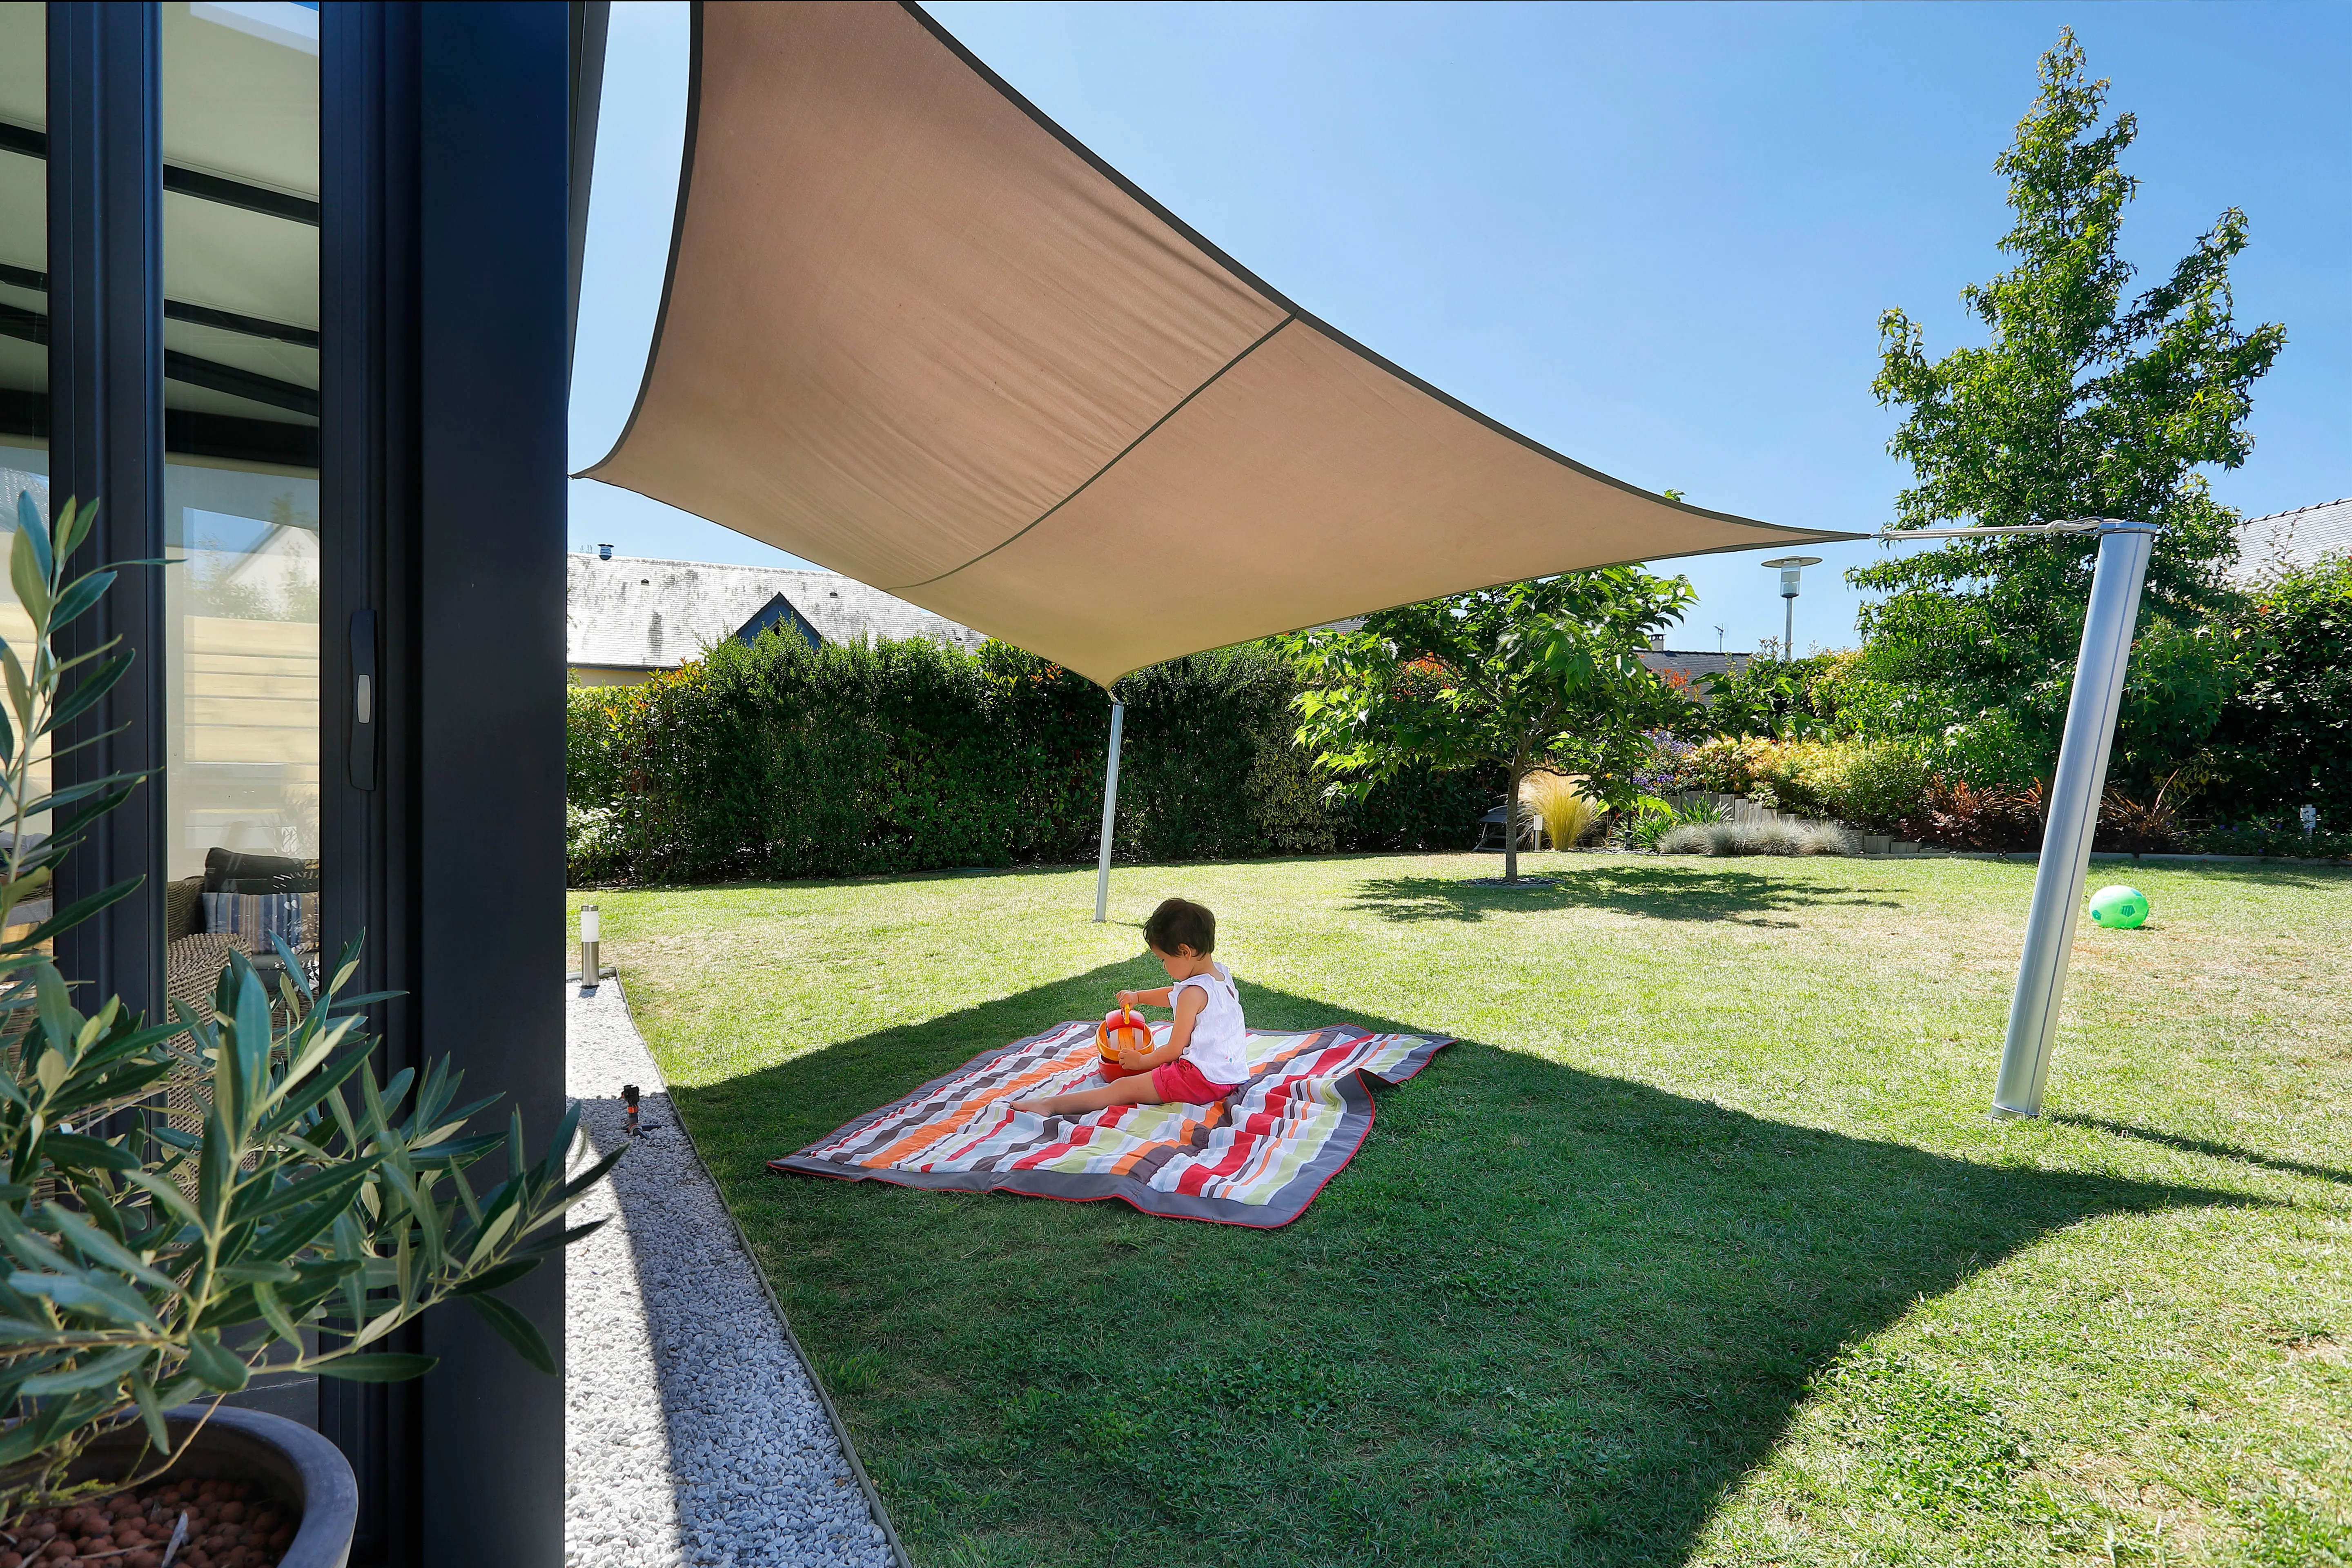
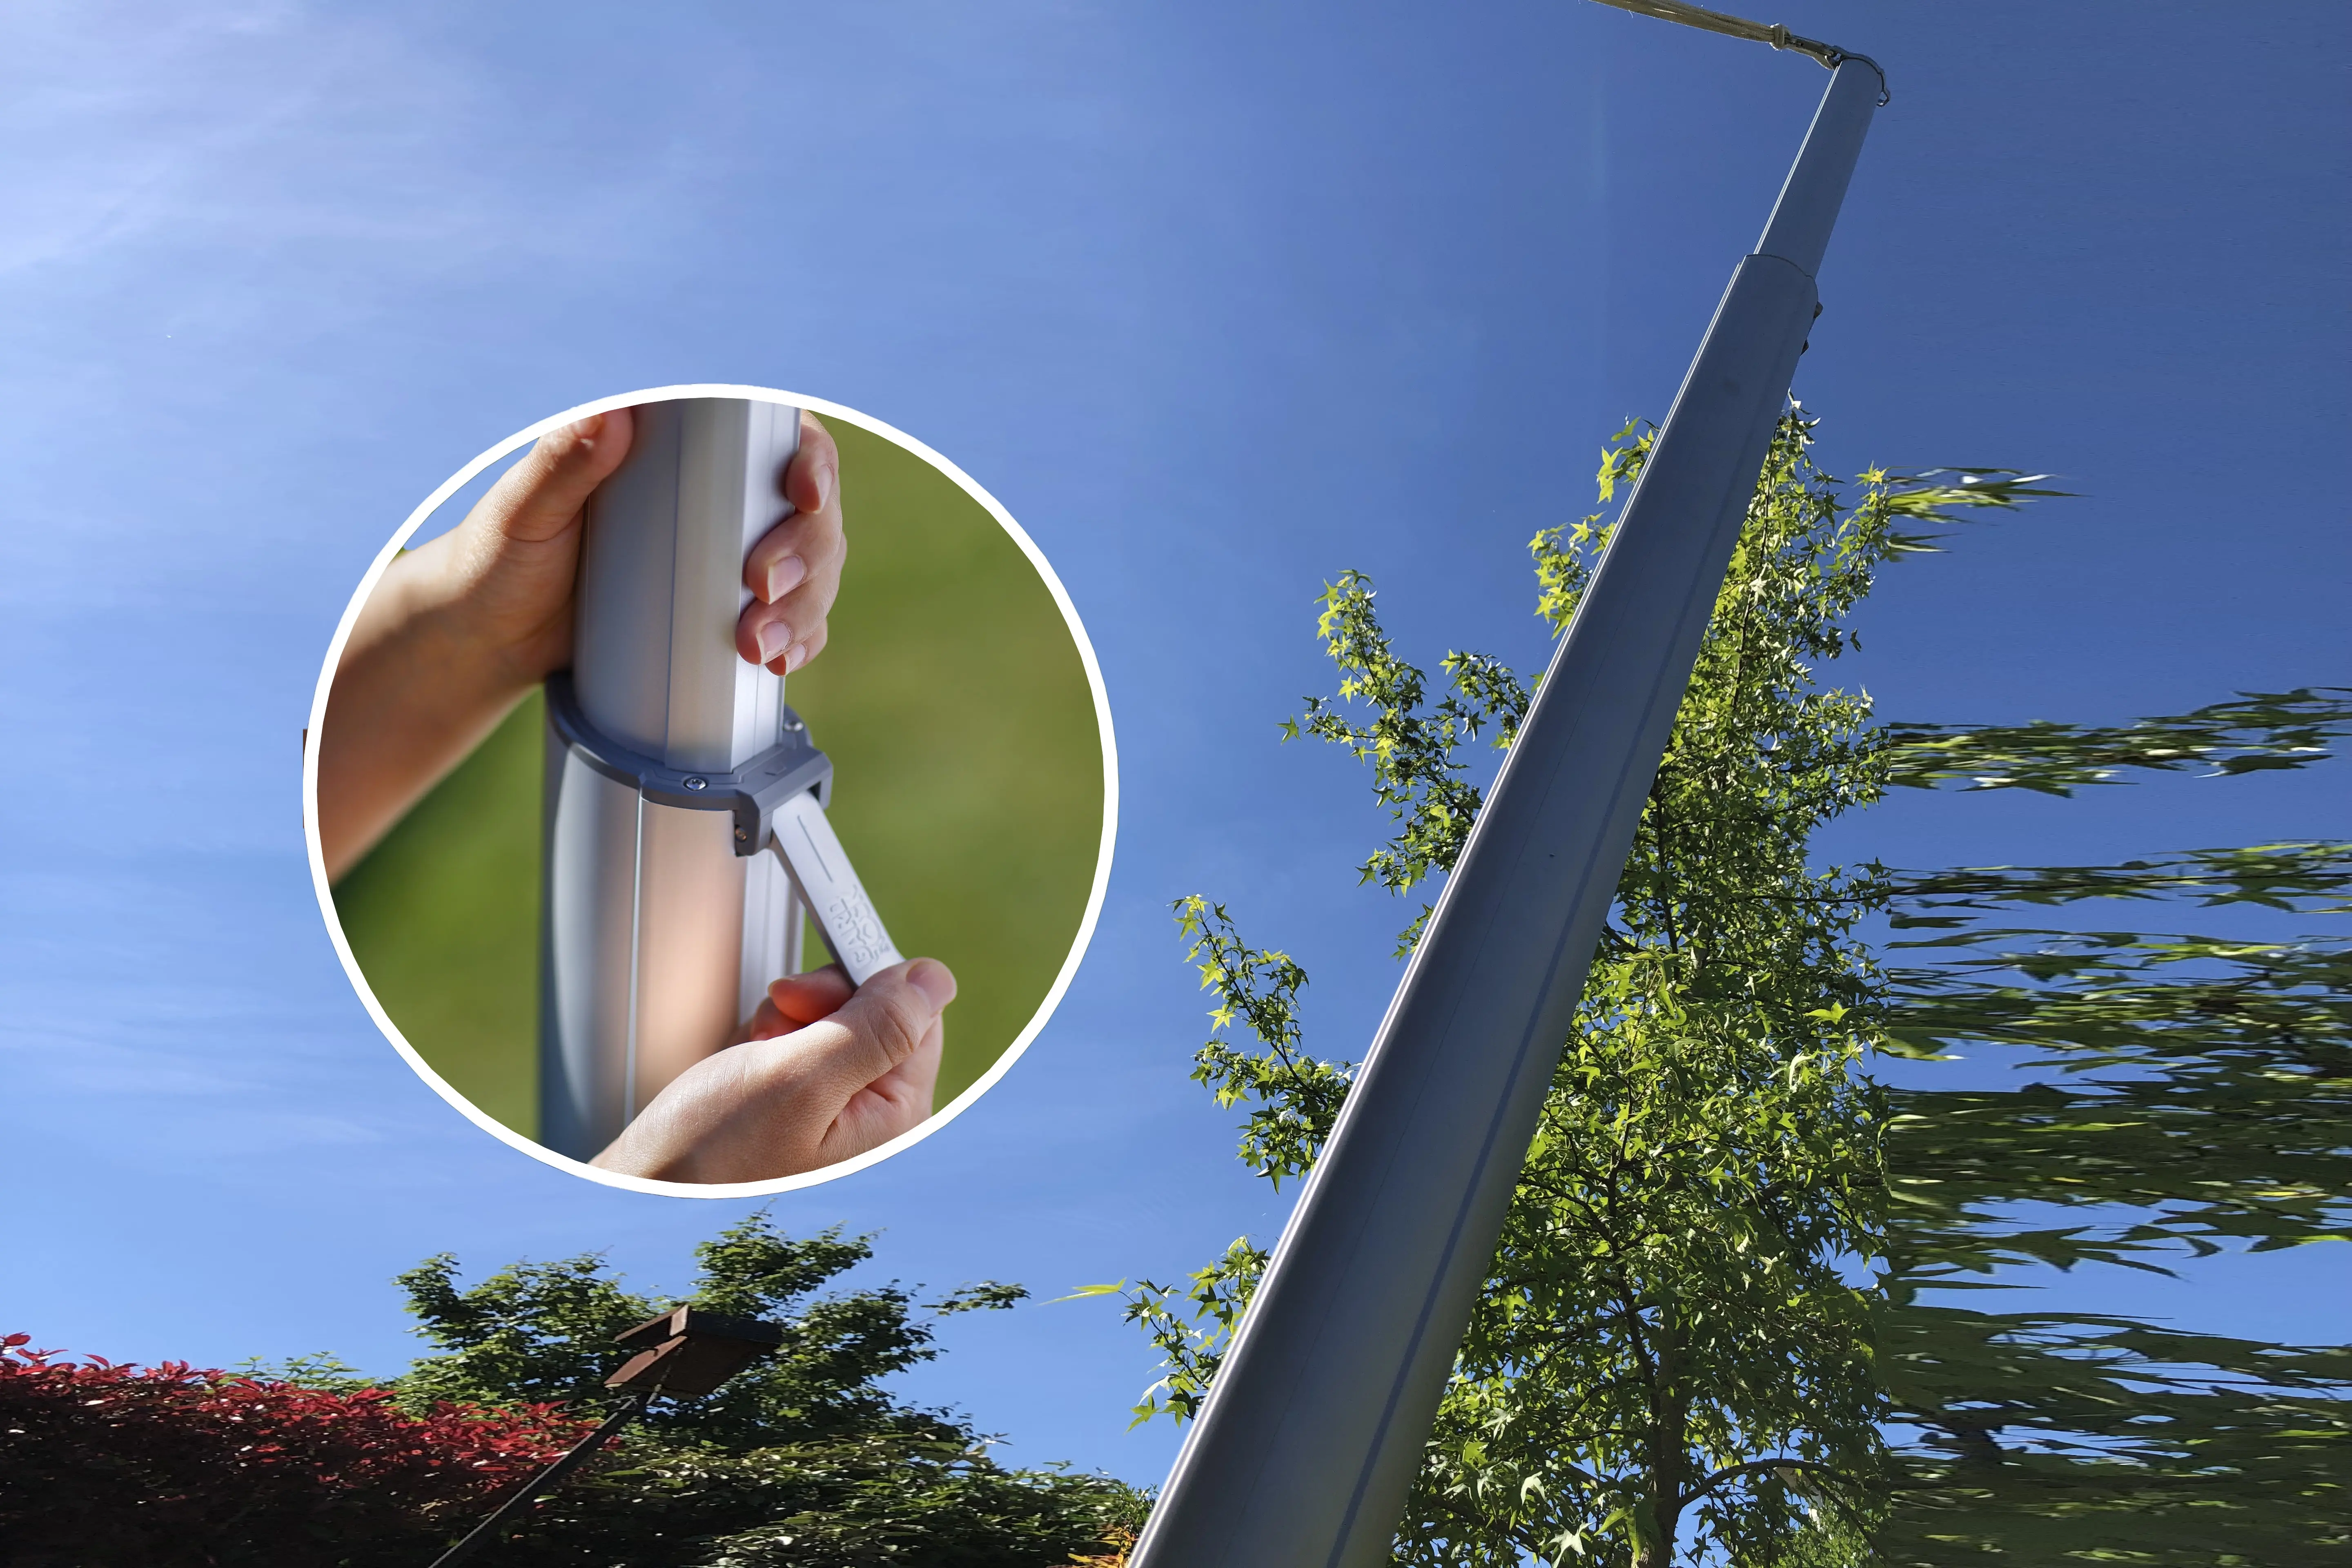
When no wall is available in the right place, a pole is essential.

The Gard&Rock telescopic shade sail pole can be adjusted from 1.25 m to 2.30 m (4.1 ft to 7.5 ft), allowing you to adapt the height depending on the sun position and your setup.

Gard&Rock telescopic shade sail pole adjustment system

Discover the Gard&Rock telescopic shade sail pole

Wall fixing (wall plate / anchor point)

When a solid wall is available, a wall fixing point can be used.

The shade sail then extends naturally from the house, creating a comfortable shaded area while helping protect openings from direct sunlight.


Accessories

For a proper installation:

The cord plays a key role in adjusting tension and compensating small variations.

 Shade sail attached to the pole with a carabiner, cord neatly stored inside

How to position fixing points correctly

This is the most important step.

A shade sail cannot be installed “approximately” — positioning matters.


Simple method

  1. Identify the area to shade
  2. Lay the sail flat on the ground
  3. Mark each corner
  4. Add around 10 cm (4 inches) per corner


Key rule

Fixing points must be aligned with the natural load direction of each corner.

In practice:

schema fixation points along the diagonal extension


Important

  • The sail should be properly tensioned
  • But not excessively
  • Cords help fine-tune the tension


Step-by-step installation

  1. Install the supports

  • wall fixing (house, pergola, structure…)
  • or pole in the garden


  1. Install the ground anchors

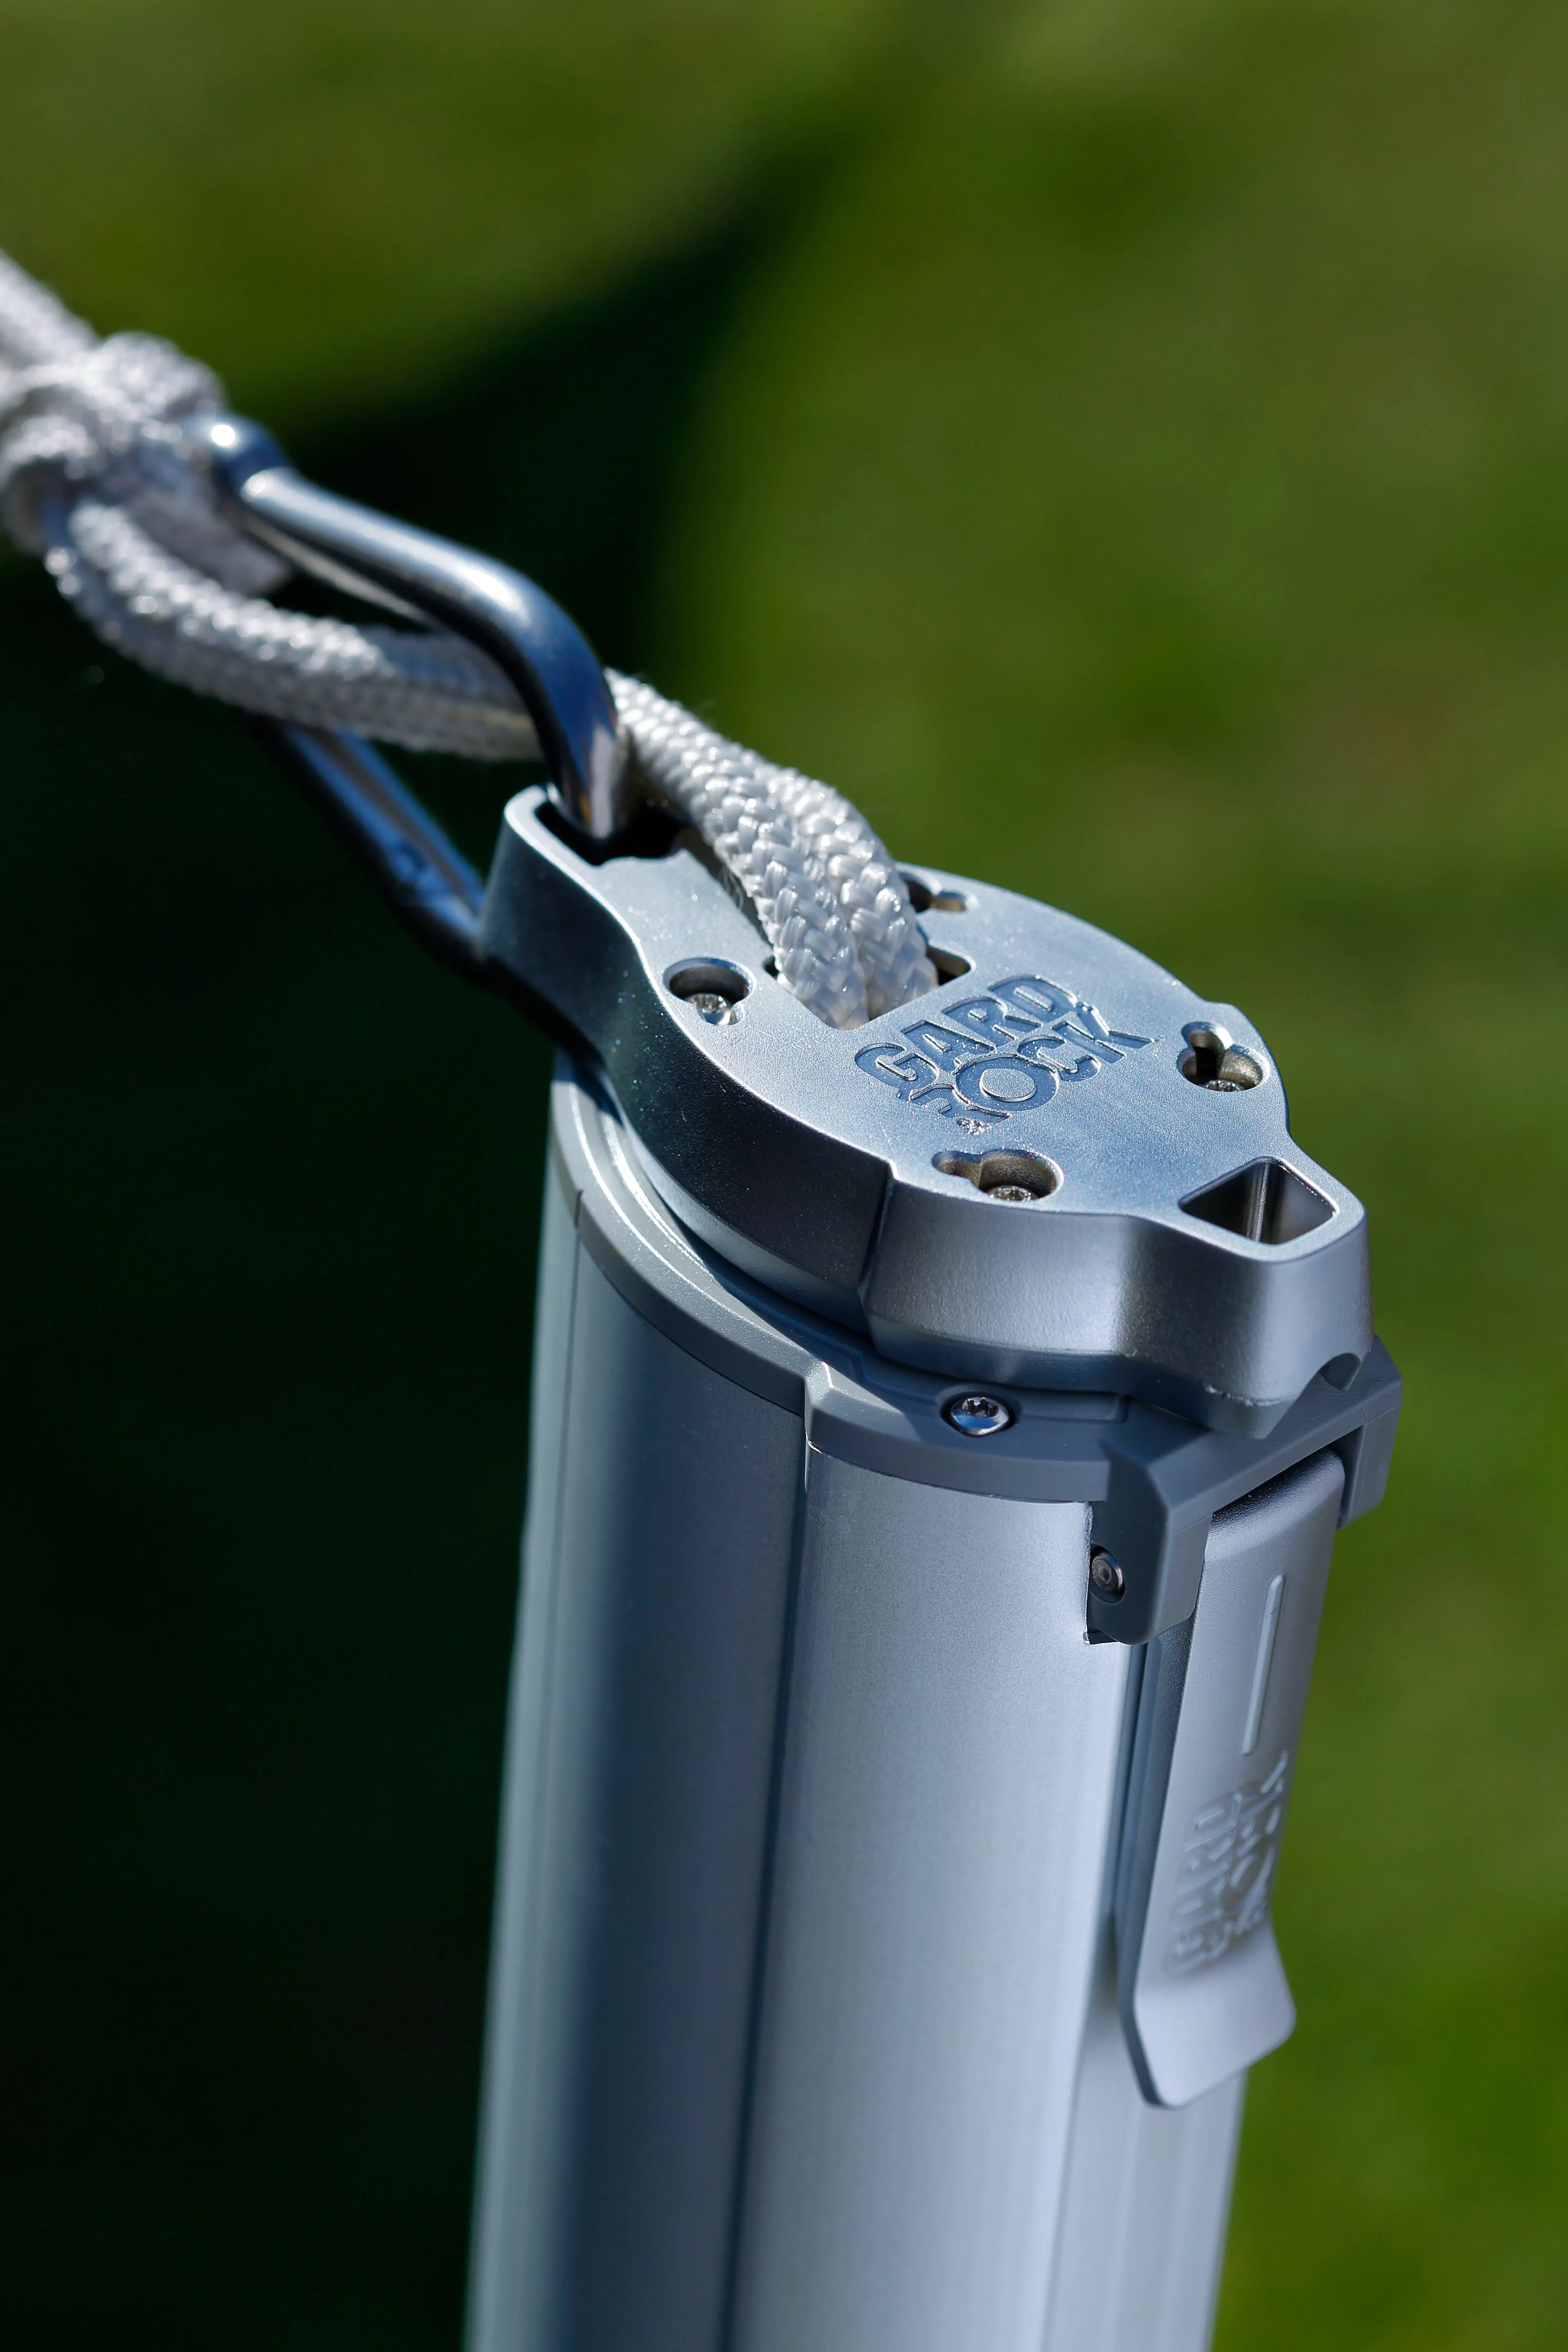
The poles are anchored into the ground using a base system.

For optimal stability, it is recommended to install the base in a small concrete footing, which can then be covered to remain discreet.

Installation guide:
https://en.gardandrock.com/anchoring-base-installation-tutorial


  1. Install the accessories

Cord + carabiner + wall fixing if needed


  1. Tension the sail

Tighten progressively, without excessive force


Why choose a telescopic pole

A telescopic pole offers great flexibility:

  • adjustable height
  • easier tension adjustment
  • adaptability to different layouts
  • scalable installation over time

A practical and durable solution for garden setups


Common mistakes to avoid

  • Misaligned fixing points
  • Over-tensioning the sail
  • No allowance (10 cm rule)
  • Choosing an unsuitable fabric
  • Leaving the sail installed during bad weather


FAQ

What distance between fixing points?

Sail size + about 10 cm (4 inches) per corner.

Should I choose a breathable shade sail?

Yes, for better comfort and airflow.
But it should still be removed in strong wind conditions.

What size sail for a Gard&Rock pole?

Up to 12 m² (129 sq ft), or 20 m² (215 sq ft) for shade nets.


Conclusion

Installing a shade sail is simple when you follow a few key rules:

  • position fixing points correctly
  • allow extra space
  • use appropriate supports

With Gard&Rock telescopic poles, you get a solution that is both flexible, discreet, and durable.

Gard&Rock respects your privacy

We use cookies to ensure the proper functioning of the site, measure traffic, and improve your user experience.

You can accept all cookies or customize your choices.

Customize your choices